You might think we are talking about jewels here, or something really awesome, as some use the word gem to describe something really wonderful – or ironically when something is really not wonderful – but in fact, we are talking about photographs. The tintype (also, tin type, used interchangeably) was invented in 1856 by Adolphe-Alexandre Martin in France, and shortly thereafter patented in America by Hamilton Smith (1858) and in UK by William Kloen. The process involved a dark background that was exposed and the light captured the details of people, places, animals and more. For a full description of the photographic process, please check the links at the end of this article. I am not a photographer, and do not want to botch up the history trying to summarize it.

Repeating lens via http://www.kehblog.com
Tintypes were an inexpensive alternative to the formal daguerrotype which had introduced the masses to photography for the consumer. Daguerrotypes were unfortunately not cheap, and the earliest daguerreotypes required up to 10 minutes exposure. While the wealthy could afford this luxury without too much trouble, common folk might have to save an entire day’s wages to afford one. From 1838 when the daguerrotype was introduced, to 1856 when the tintype was introduced, daguerrotypes were made by artists in bright, sunlit studios, and were considered treasures. The image was exposed directly onto a glass plate, with a dark background behind that. They came in special cases to protect the glass from breaking or otherwise becoming scratched or damaged. Surviving daguerrotypes are often faded and difficult to see, but still lovely in their composition and artistic arrangements.
Then along came the tintype. It was made on japanned iron – japanned in this sense meaning “lacquered iron” in imitation of Japanese furniture lacquer. Being as sheets of iron were used, these types of pictures were originally called ferrotypes. The lacquer was an important part of the processing and it secured the image onto the iron. The plates were in various sizes and usually were in a paper sleeve, later placed into a photo album or frame. There is some suggestion that a tool called a tin snips was used to cut the iron plate into the smaller sizes, and that is how the name tintype came about. It is also fun to consider that tintypes of any shape or size were actually a mirror image! So, if your Great-Granny Flagg’s portrait is looking wistfully off to the right, in actuality she was looking to the left in the studio. This also led to the popular myth that Billy The Kid was left handed. The mirror image tintype would have shown his gun in his right hand, but reversed by the photographic process. There were also no negatives of tintypes, as the image was printed directly onto the plate. Popular sized plates were
Gems at 1/2″ x 1″
1/6 plate at 2 3/4″ x 3 1/4″
CDV at 2 1/2″ x 4″
Bon-ton up to 4″ x 5 3/4″

Photo button via http://www.redtreetimes.com
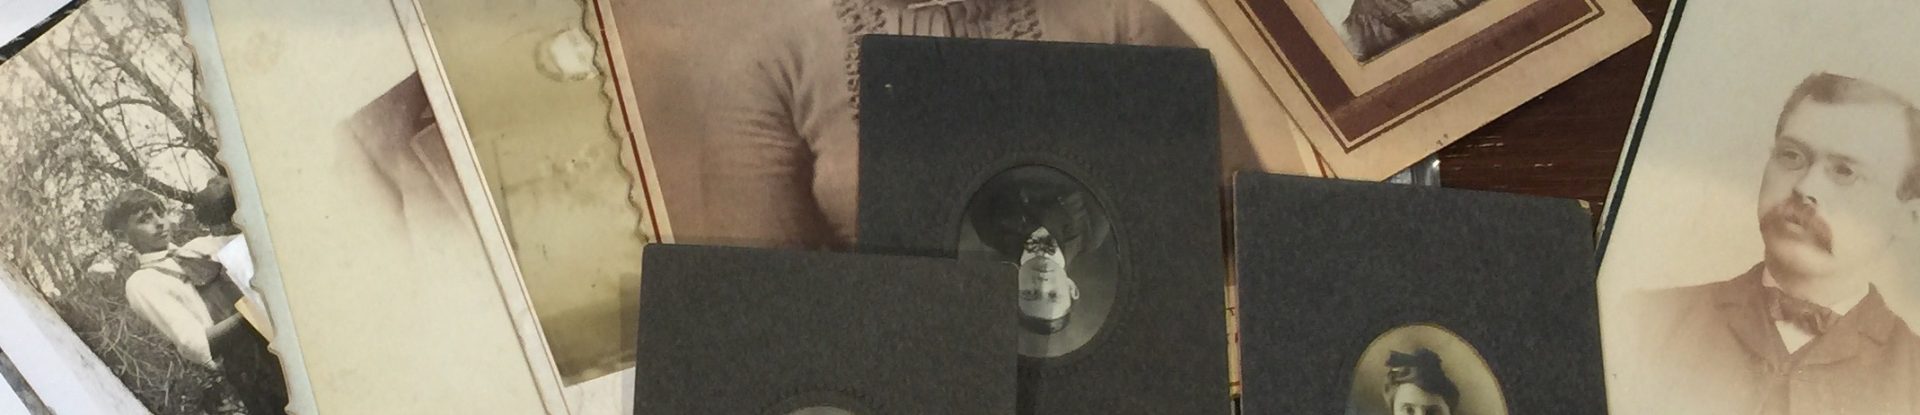
Consumers frequently cut the plates themselves to fit into frames, which can help to explain why there is only a general measurement of any plate size! Also, since photographers were cutting them at carnivals and fairs, they were frequently cut crooked and out of shape. Tintypes were a sturdy and durable method to not only capture the image – they were not breakable glass plates after all – but they could fairly easily be carried in a soldier’s haversack, mailed home to families, and otherwise transported with less delicacy than its predecessor. They arrived on scene just in time for the American Civil War, and were incredibly popular with the military due to their durability. The tintype was used side by side with the carte de visite printed on paper throughout the remainder of the 19th century, with a falling off of popularity in the 1890s. Gems were very popular because they could be produced a dozen at a time by use of a repeating camera often attributed to Simon Wing (who held the patent in USA). The lens could create twelve to sixteen identical images on a plate, to be cut apart by the photographer – and some versions of the camera could produce upwards of 700 images at a session by use of the repeating lens and a slide to move the plate! The repeating camera could also produce larger images, but the gems appear to have been very popular, giving rise to Gem Galleries – specialized photography studios for gem tintypes. Gems were often mounted in the center of a paper frame, worked into lockets and pins, buttons (think political figures and military generals), and mounted into special gem photo albums – sometimes referred to as fairy albums.
I became aware of the gem photo album a few years ago when I first saw one in an antique shop. The tiny album featured a red leather cover and was about 1 1/2″ x 3″. It was expensive! These little albums often survive fairly well because of their small size. They could easily be stashed in a box of mementos, jewelry, office stuff, whatever, and overlooked when the larger family albums were usually stored in the living room.
As it turns out, there is a wealth of gem tintype albums on ebay. Of course! You can buy just about anything on ebay. I found one for a reasonable price that looked virtually identical to the one I saw in that antique store. Of course, during my move I forgot to photograph the front of the album and as it is packed I can’t easily get it out to take a photo now. You will have to trust me on this one. It looks similar to this one:

Mary P. Getchell’s gem album via http://www.mcbridesite.info
Interestingly, a previous owner managed to repair the clasp of the album with a sewing pin. I did take a picture of that.
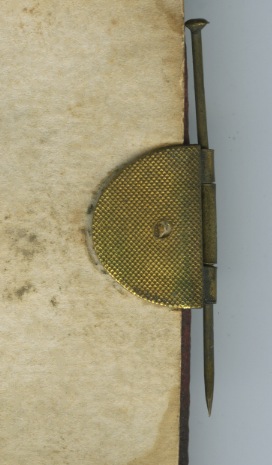
The clasp still works although some of the pages have separated from the spine and it is very delicate. It was with the greatest of care that I scanned each page!

Two gems per page
Keep in mind, the page is only slightly higher than the height of a sewing pin – maybe 1 3/4″. Gems are tiny! Some of them feature tinting on the cheeks, which is a throwback to the daguerrian age of artistry in photography. The photographer must have used a magnifying glass and tiny paint brushes to tint the cheeks or any other part of the image before setting the images with lacquer. As you can see, this particular gem album features oval shaped openings for the image views. Some have a rounded rectangle, others a standard rectangle. There were surely many choices for consumers to choose from! Much like standard CDV sized albums, the openings for gems were decorated, often with gilding, and the pages of the album were gilded on the edges as well. Embossed leather was almost universally used for the album covers. People frequently wrote the names of the photo subjects under the image, but as is the case with so many full sized albums, this one does not have any names. I plan to feature one page of two images at at time and highlight some of the interesting details in the various photographs. Check back over the next few weeks for this intriguing and romantic little photo album!
Tintype Information and Additional Reading
Timeline of the History of Photography


Interesting and informative post. Good one!
LikeLike